Master Perfect Seared Scallops: Your At-Home Pro Guide
Have you ever gazed longingly at a plate of perfectly seared scallops in a restaurant, complete with that irresistible golden crust and a tender, buttery interior, wondering if such culinary magic could ever be replicated in your own kitchen? You’re not alone. Many home cooks view scallops as an intimidating delicacy best left to the pros. But here's the secret: with the right knowledge and a few key techniques, you can absolutely master the art of the seared scallops recipe at home, transforming an ordinary meal into an extraordinary dining experience.
This comprehensive guide will walk you through every step, from sourcing the finest scallops to achieving that coveted sear and crafting a delectable sauce. Get ready to impress your family, friends, or that special someone with a dish that screams sophistication yet is surprisingly accessible.
The Foundation: Sourcing & Preparing Your Scallops
The journey to perfect seared scallops begins long before they hit the hot pan. The quality and initial preparation of your scallops are paramount. Think of it as laying the groundwork for a masterpiece.
First, let's talk about sourcing. When buying scallops, you'll generally encounter two types:
- "Dry-packed" Scallops: These are scallops that haven't been treated with phosphates. They are the gold standard for searing because they contain less water, allowing for a far superior crust and caramelization. They might be pricier, but the difference in texture and flavor is undeniable.
- "Wet-packed" Scallops: These have been soaked in a phosphate solution, which makes them absorb more water, increasing their weight and shelf life. While more affordable, they are notoriously difficult to sear properly, often steaming instead of browning, leading to a rubbery texture. If you must use wet-packed, ensure you pat them excessively dry.
Ideally, opt for medium-sized sea scallops. Bay scallops are smaller and tend to overcook quickly, making them less suitable for a hard sear unless you're very quick.
Once you have your beautiful scallops, proper preparation is crucial. This is where many home cooks falter, unknowingly sabotaging their chances of a perfect sear.
- Bring to Room Temperature: Take your scallops out of the fridge about 15 minutes before you plan to cook them. This allows the chill to come off, promoting more even cooking and preventing the pan's temperature from dropping too drastically when they are added.
- Thorough Drying is Non-Negotiable: This is arguably the single most important step for achieving that golden-brown crust. Moisture is the enemy of searing. Use several layers of kitchen paper or a clean tea towel to pat each scallop *completely* dry. If you think they're dry enough, pat them again! Any surface moisture will cause the scallops to steam rather than sear, robbing you of that beautiful Maillard reaction crust. For more in-depth advice on this critical step, be sure to check out our guide on Secrets to Golden Seared Scallops: Pan Heat, Drying & Quality.
- Season Simply: A light sprinkle of sea salt and freshly ground black pepper is all you need. Don't season too far in advance, as salt can draw moisture out of the scallops.
The Art of the Perfect Sear: Heat, Pan, and Technique
With your scallops perfectly prepped, it's time to bring on the heat. This is where the magic truly happens, transforming delicate raw scallops into culinary gems.
Your choice of pan plays a significant role. For an exceptional sear, you'll want a pan that can retain and distribute heat exceptionally well.
- Cast Iron Skillet: The undisputed champion for searing. Its heat retention is unparalleled, ensuring a consistent, high temperature that produces an incredible crust.
- Stainless Steel Pan: Another excellent choice. While it doesn't hold heat quite as well as cast iron, it still gets searingly hot and provides an impressive crust.
- Avoid Non-Stick Pans: These pans are generally not designed to withstand the intense heat required for a proper sear. The high temperature can degrade the non-stick coating, and you'll struggle to achieve that coveted dark, crispy crust.
Now, let's talk technique:
- Searingly Hot Pan: Place your chosen pan over high heat. Add a small amount of high-smoke point oil – canola, grapeseed, or safflower oil are excellent choices. You want the oil to be shimmering and just barely starting to smoke. Don't be afraid; a screaming hot pan is absolutely essential.
- Add Scallops in a Single Layer: Carefully place the seasoned, dry scallops into the hot pan, leaving ample space between each one. Do not overcrowd the pan! If you add too many scallops at once, the pan's temperature will drop, and they will steam instead of sear. Cook in batches if necessary.
- Resist the Urge to Move Them: Once the scallops are in the pan, leave them undisturbed for about 1.5 to 2 minutes. This crucial time allows the Maillard reaction to occur, developing that beautiful golden-brown crust. You'll know it's time to flip when you see a deep golden-brown ring creeping up the sides of the scallop.
- Flip and Finish: Using tongs, flip each scallop to its other flat side. Sear for another 1 to 1.5 minutes. The internal temperature of a perfectly cooked scallop should be around 115-120°F (46-49°C), or simply opaque throughout with a slight translucency in the very center, if you prefer. Overcooking will lead to a rubbery texture, so keep a watchful eye!
- Deglaze for Flavor (Optional but Recommended): If some of that delicious seared crust sticks to the pan (often called 'fond'), don't discard it! This is pure flavor. Once the scallops are removed, you can deglaze the pan with a splash of white wine or broth. This lifts those browned bits, creating a flavorful base for your sauce.
Elevating Your Scallops: The Creamy Garlic & Butter Sauces
While perfectly seared scallops are divine on their own, pairing them with a complementary sauce elevates the dish to new heights. Here, we explore two classic and incredibly delicious options: a creamy garlic white wine sauce and a simple yet rich garlic butter sauce.
Creamy Garlic White Wine Sauce:
Inspired by restaurant-quality creations, this sauce provides a luscious, savory bed for your scallops.
- Build the Base: After searing your scallops and setting them aside, reduce the heat to medium. Add a knob of butter to the pan (or use the fond from deglazing). Sauté minced garlic until fragrant (about 30 seconds – don't let it burn!).
- Wine & Cream: Deglaze the pan with a splash of dry white wine (like Sauvignon Blanc or Pinot Grigio), scraping up any browned bits from the bottom. Let it reduce by half. Then, pour in a touch of heavy cream.
- Season & Finish: Stir in a small amount of capers for a tangy counterpoint and a pinch of chili flakes for a subtle kick. Season with salt and pepper to taste. Simmer gently until the sauce thickens slightly, then nestle your seared scallops back into the sauce just to warm through before serving.
Garlic Butter Scallops: Quick, Rich, and Irresistible
This approach, a favorite of many chefs, focuses on searing the scallops first and then tossing them with the garlic butter just before serving. This ensures the scallops retain their pristine sear while absorbing the rich flavors.
- Post-Sear Pan Action: Once your scallops are perfectly seared and removed from the pan, reduce the heat to low. Add a generous amount of high-quality unsalted butter (preferably cultured butter with high butterfat content for superior flavor and texture).
- Infuse with Garlic: As the butter melts, add freshly minced garlic. Swirl and cook for about 30-60 seconds, allowing the garlic to soften and infuse the butter without browning or burning.
- Toss and Finish: Immediately return the seared scallops to the pan. Toss them gently with the garlic butter for just 10-15 seconds to coat and warm them through.
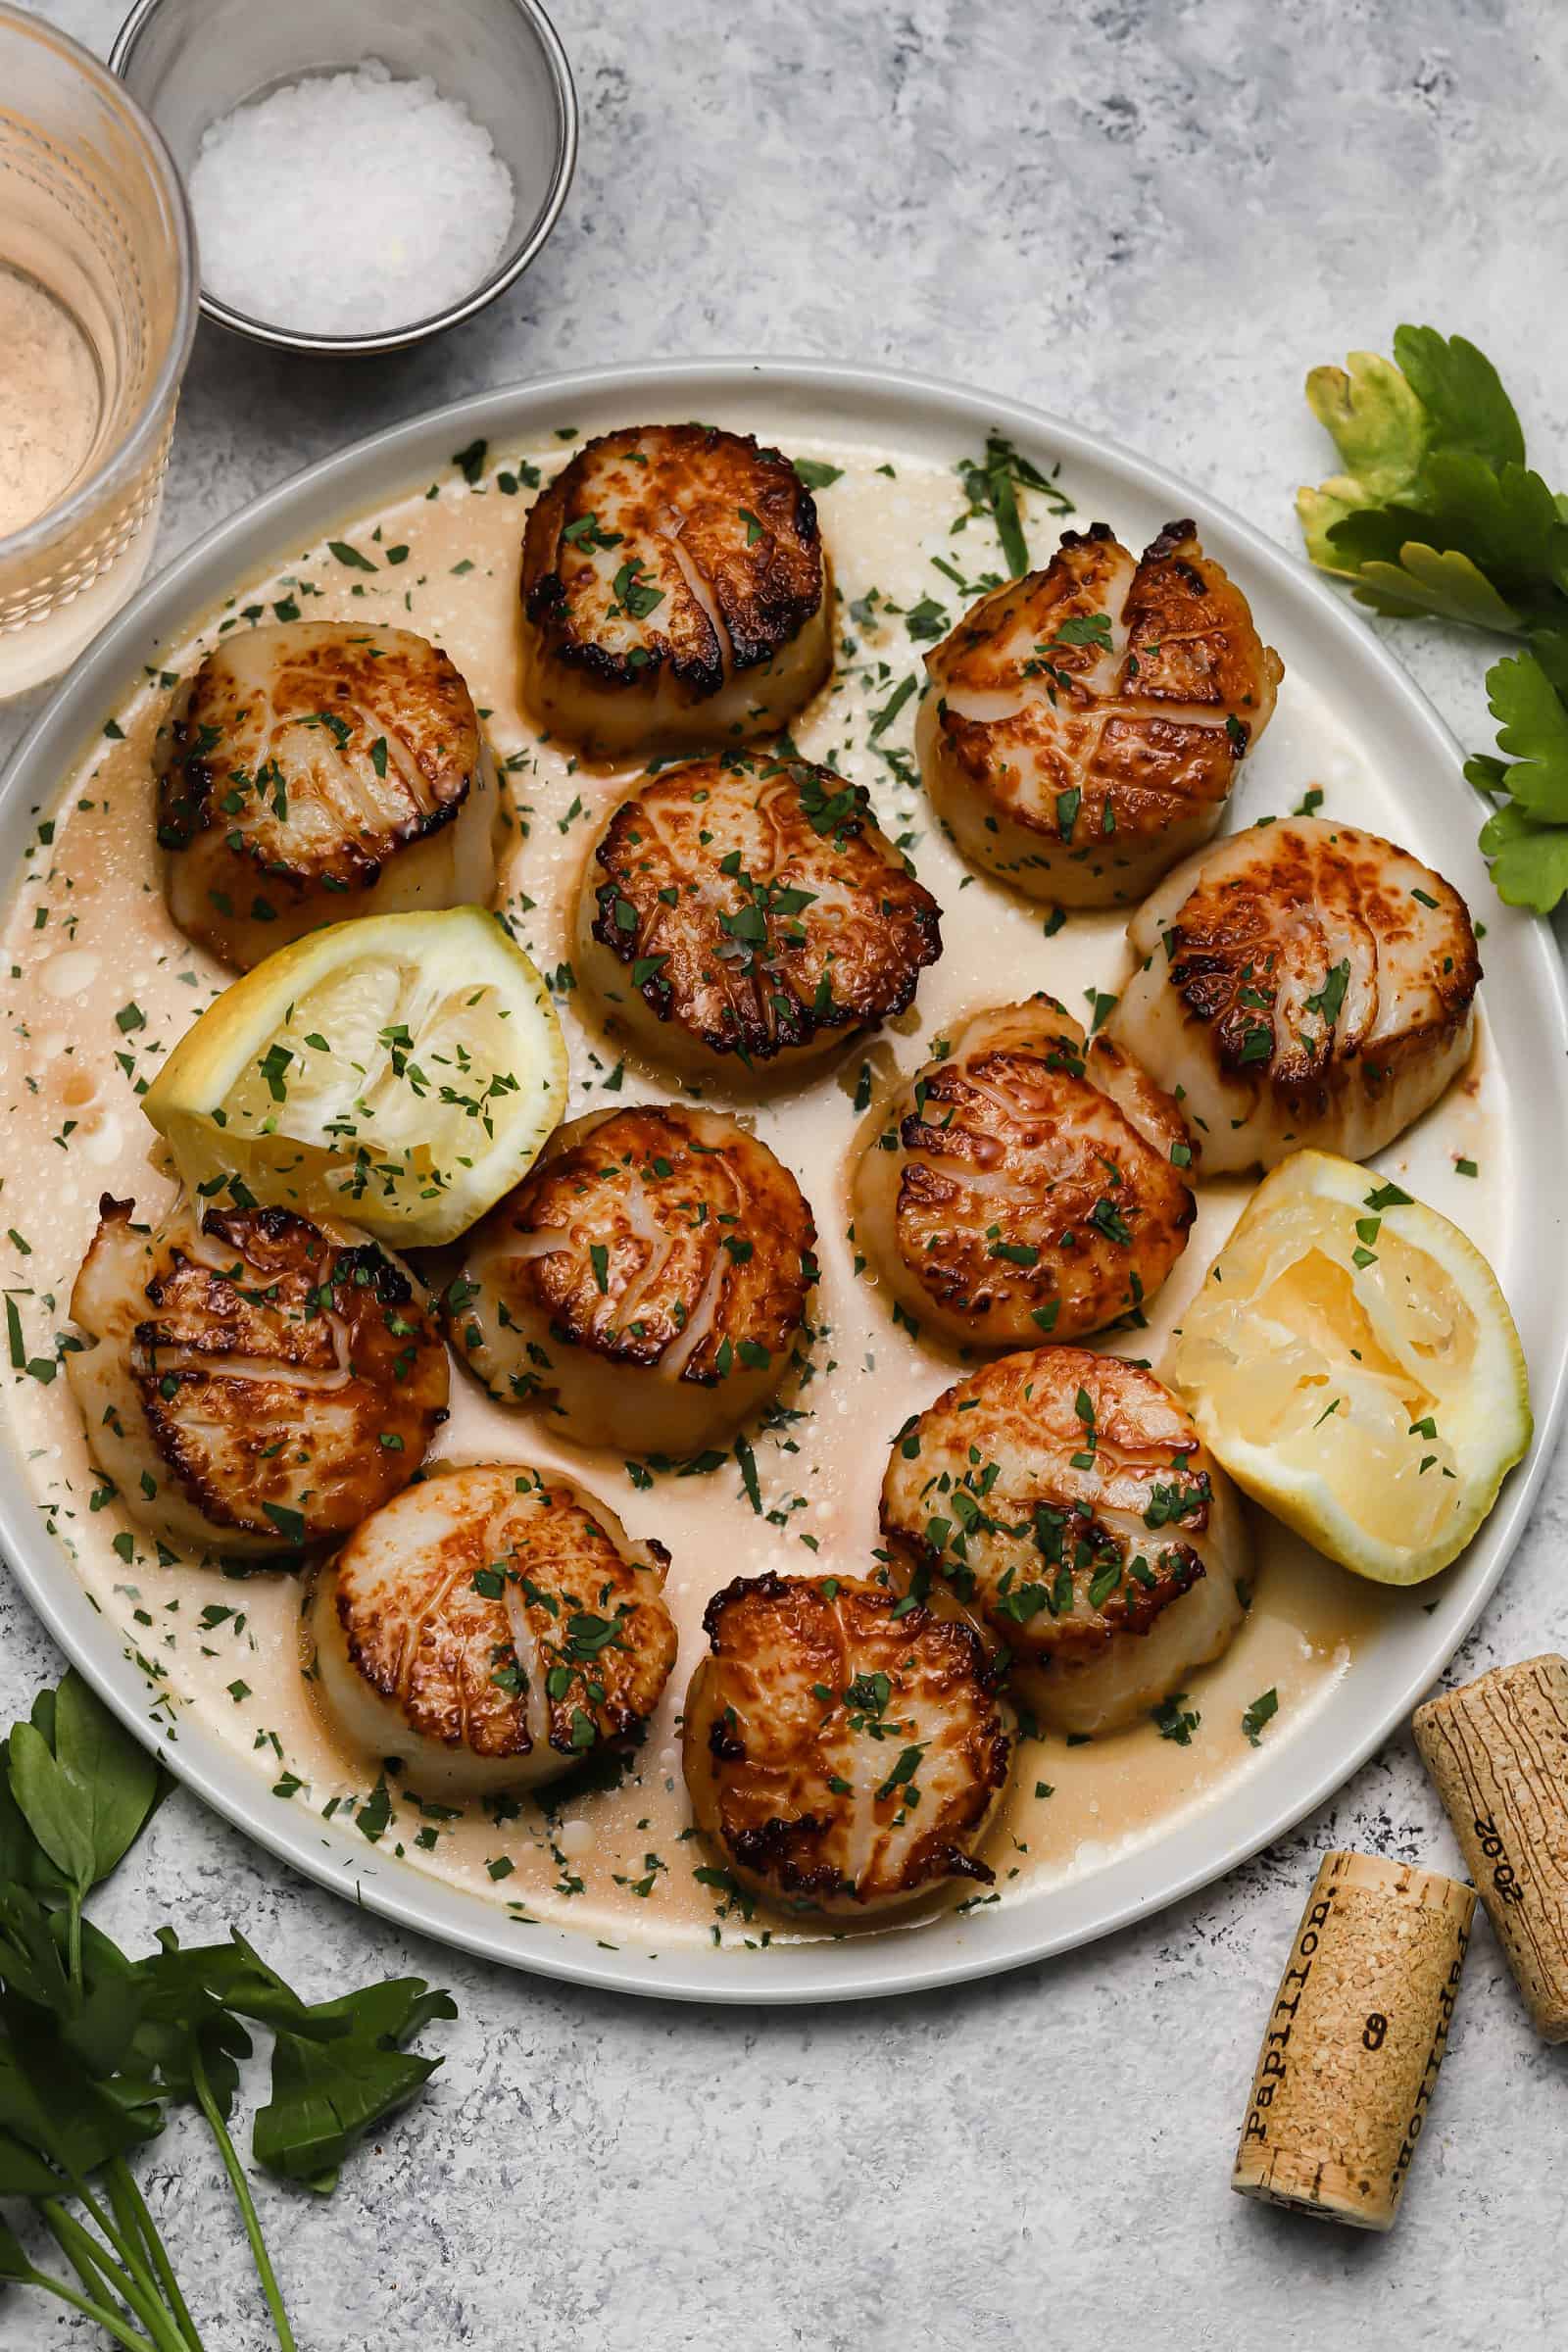
- Brighten with Acidity & Herbs: Remove from heat and finish with a squeeze of fresh lemon or lime juice and a sprinkle of chopped fresh herbs (parsley, cilantro, or basil are excellent choices). The acidity cuts through the richness, while the herbs add freshness and color.
The quality of your ingredients truly shines in this minimalist scallops recipe. Using fresh, vibrant garlic and the best butter you can afford will make a noticeable difference.
Beyond the Pan: Serving Suggestions and Pairings
Now that you've mastered the sear and crafted a divine sauce, how do you present your culinary triumph? Seared scallops are incredibly versatile, serving as both a sophisticated appetizer and the star of a main course.
For a memorable date night, a plate of creamy garlic scallops served alongside a delicate pasta, such as linguine or fettuccine, creates an elegant and comforting meal. Alternatively, they make a stunning appetizer when plated simply with a garnish of fresh herbs. If you're looking for more ideas specifically tailored for romantic evenings or versatile meal planning, explore our article on
Creamy Garlic Butter Scallops: Easy Date Night & Meal Ideas.
Beyond date night, consider these fantastic meal vehicles for your garlic butter scallops:
- Pasta: Toss with a light aglio e olio, pesto, or even a simple lemon-butter pasta.
- Tacos or Tostadas: A refreshing twist, pairing the sweet scallops with crisp slaw, a squeeze of lime, and a drizzle of spicy mayo.
- Rice: Serve them over fluffy white rice, wild rice, or a creamy risotto for a satisfying main course.
- Main-Course Salad: Add them to a bed of peppery arugula, mixed greens, or a vibrant grain salad for a light yet luxurious meal.
- Sandwiches: Yes, really! A warm garlic butter scallop roll with a squeeze of lemon can be surprisingly delicious.
- Vegetable Sides: Serve with asparagus, green beans, or roasted broccoli.
Always remember that touch of acidity – a squeeze of fresh lemon or lime juice, a drizzle of good quality vinegar, or even a dash of verjus – just before serving. It brightens the flavors and provides a crucial counterpoint to the richness of the scallops and butter. Fresh herbs, finely chopped and sprinkled as a garnish, add a burst of color and aroma, completing your dish.
Conclusion
Mastering the perfect seared scallops recipe at home might seem daunting, but by focusing on a few key principles – quality ingredients, meticulous drying, and a blazing hot pan – you can achieve restaurant-quality results every time. From the satisfying crunch of the golden crust to the tender, melt-in-your-mouth interior, each bite is a testament to your newfound culinary prowess.
So, gather your ingredients, follow these pro tips, and embark on your scallop-searing journey. Whether you opt for a rich creamy garlic sauce or a vibrant garlic butter, you're now equipped to create a truly unforgettable dining experience. Go forth and cook with confidence, and perhaps start with our fantastic recipe for
Creamy Garlic Butter Scallops: Easy Date Night & Meal Ideas for an approachable and delicious introduction to your new favorite dish!